Installing ictVoIP Billing
Complete Installation Guide for ictVoIP Billing System
This guide provides step-by-step instructions for installing and configuring the ictVoIP Billing system on your WHMCS platform.
System Requirements
Supported WHMCS Versions: * WHMCS 8.12+
PHP Requirements: * PHP 8.1
Web Server: * Apache 2.4+ * LiteSpeed * Nginx (with proper configuration)
Prerequisites: * WHMCS with HTTPS enabled * Basic understanding of WHMCS administration * Access to WHMCS admin panel
Note
This guide assumes you have a basic WHMCS installation with HTTPS enabled and understand WHMCS platform administration.
Purchase & Download
1. Purchase or start a Triale
If you haven’t already purchased the ictVoIP Billing addon module or wish to request a trial, you can request so here:
ictVoIP Billing Software Contact Us
2. Download the Package
To purchase or begin a trial setup an account and download the latest release package from your client area: * Package: ictvoip_billing_release-1.3.x_PHP8.x.zip * Location: Your client area licenses section
Installation Process
Step 1: Upload the Package
Upload the ictVoIP Billing addon module zip file to your server:
/home/$user/tmp/ictvoip_billing_release-1.3.x_PHP8.x.zip
Step 2: Extract and Copy Files
Uncompress the module and copy the contents to your WHMCS root installation:
# Extract the package to a tmp dir
extract ictvoip_billing_release-1.3.x_PHP8.x.zip

# Copy files to WHMCS directories
cd /home/$user/tmp/ictvoip_billing_module_v1-3-x_PHP8.x
cp -r WHMCS/* /home/$user/public_html/
Database Setup
Import Required Tables
Country Codes table are now initialized after activating you ictVoIP Billing addone:
License Activation
Step 1: Access Addon Modules
Navigate to your WHMCS admin panel: * System Settings → Apps & Integrations → Addon Modules
Step 2: Activate the Module
Find “ictVoIP Billing” in the addon modules list
Click Activate
Click Configure
Step 3: Enter License Key
Enter your license key in the configuration:
License Key: LeasedictVoIP_a3174afbf93b3b8ba8f3
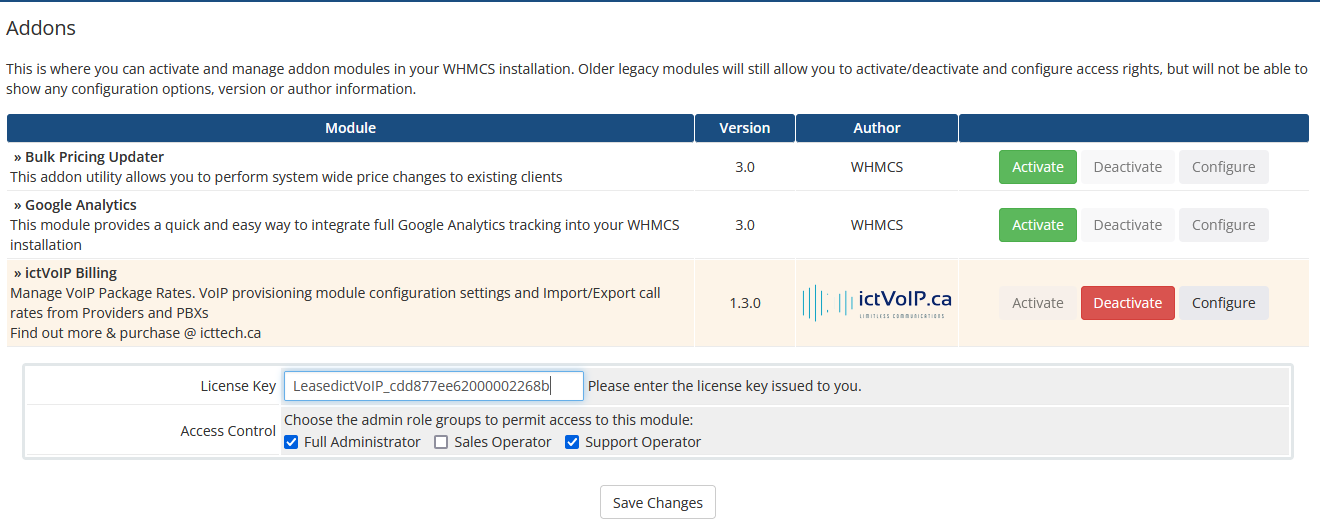
Step 4: Configure Access Control
Set the appropriate access control groups for your administrators and save the configuration.
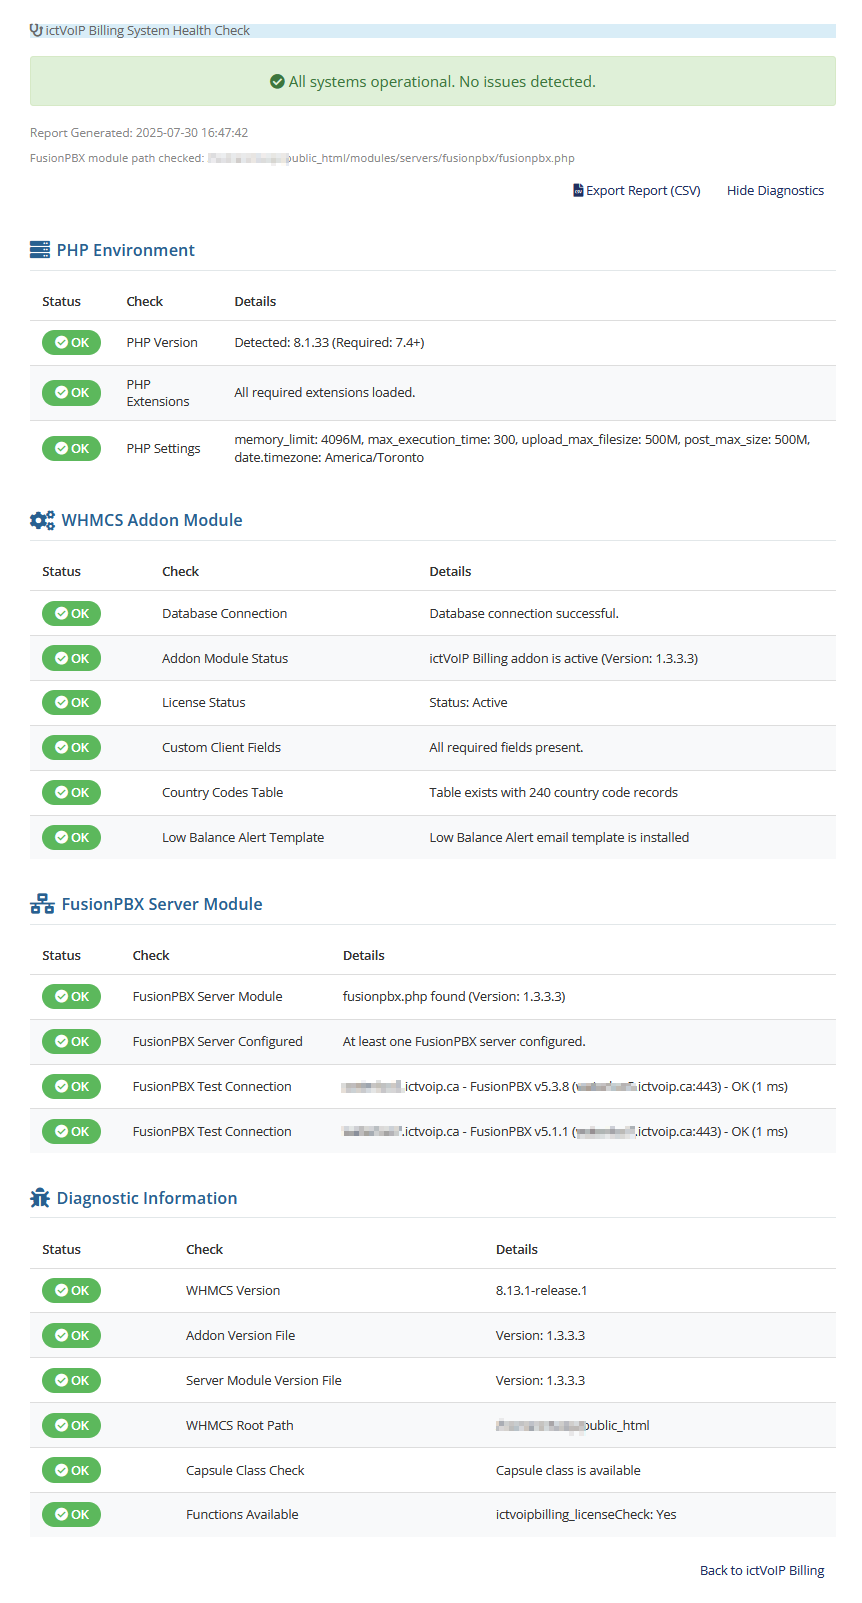
** NEW System Health Check
Now after installing you modules you can run the System Health Check to verify proper configuration and setup of Addon and Server Modules
Manual Verify Checks
1. Check Module Status
Verify the module is properly installed: * Navigate to System Settings → Apps & Integrations → Addon Modules * Ensure “ictVoIP Billing” shows as Active
2. Test Admin Access
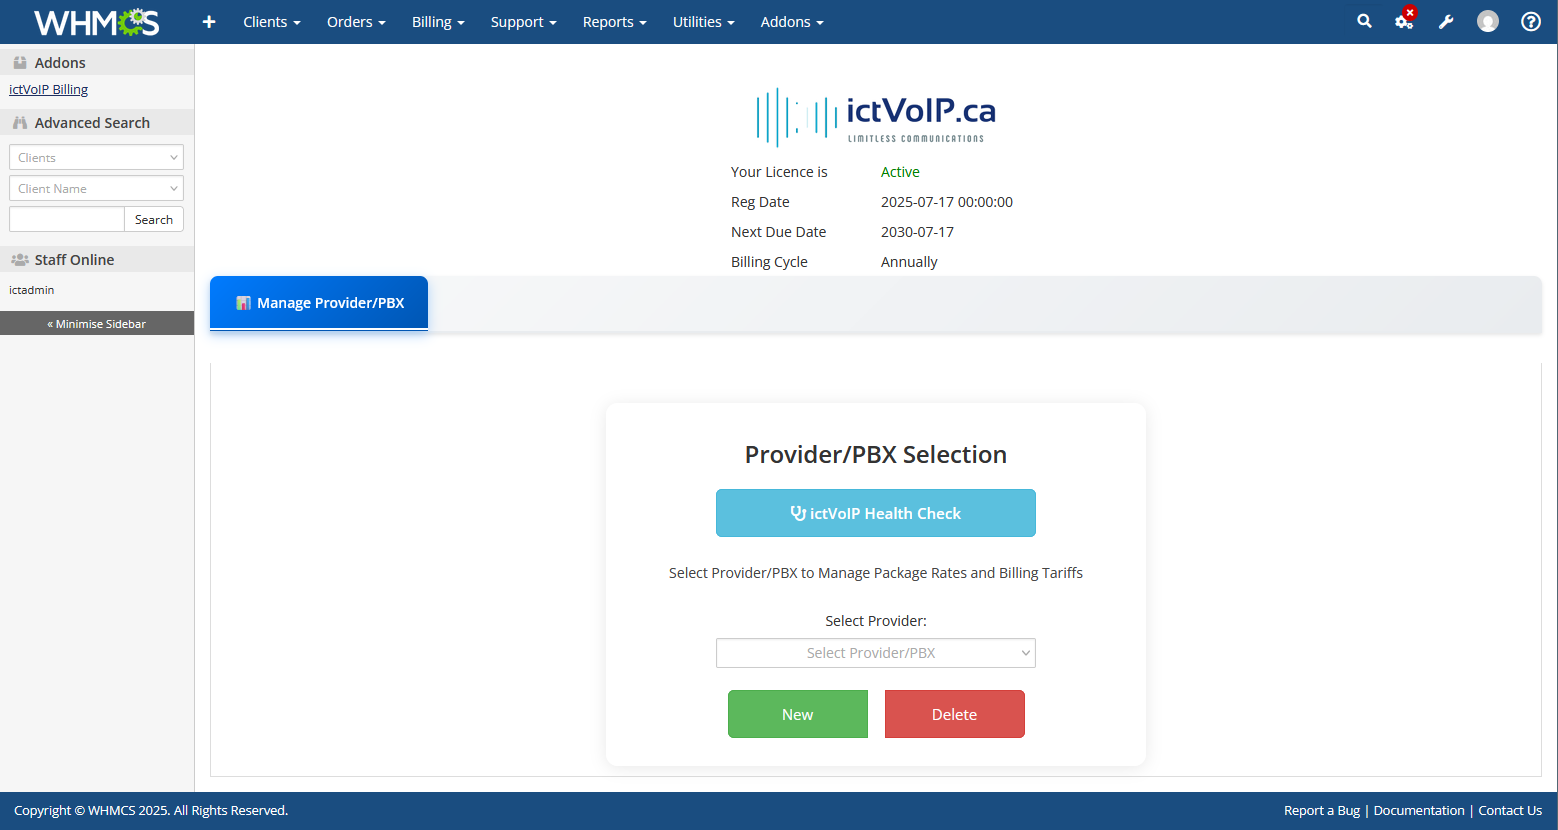
Navigate to ictVoIP Billing in your admin menu
Verify you can access the dashboard
Check that all menu items are visible
3. Verify Database Tables
Confirm the required tables were created:
SHOW TABLES LIKE '%ictvoipbilling%';
Troubleshooting
Common Issues:
Module not appearing: Check file permissions and ensure all files were copied correctly
License activation failed: Verify the license key is correct and has not expired
Database errors: Ensure the country codes table was imported successfully
Access denied: Check that your admin user has the correct access control group assigned
Support:
If you encounter issues during installation, please contact our support team with: * WHMCS version * PHP version * Error messages (if any) * Steps taken during installation
Next Steps
After successful installation, proceed to:
Server Configuration - Set up your PBX servers
Provider Setup - Configure your VoIP providers
Tariff Management - Set up your pricing structure
Package Configuration - Create service packages